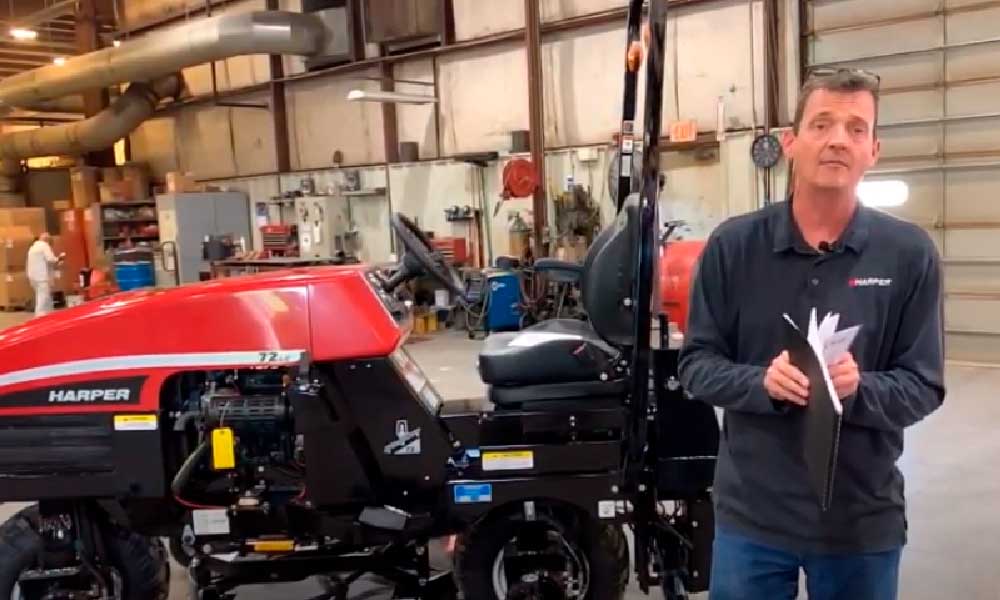
Hi, I am John Devin’s with Harper Industries. I am the mower and turf service technician. We’re talking about the 72 LC Tier 4. We are going to do is go through some of the basic maintenance points of this machine. Each machine is going to come with the operator’s manual and here you’re going to find your maintenance schedule, torque specs, service parts within the service section. It is going to tell you what hours you need to make the service checks also your parts breakdown.
There is also an electrical drawing or your wiring. This is very important for you to have if you are a service technician out in the field. You could also go to Harperturfequipment.com click on manuals at the top and scroll down to the mowers section and find the serial number of the unit of the machine that you’re working on to get the same information. Checking your hydraulic oil is a daily deal making sure is good before you take her out. Always look for loose hardware, worn hoses, loose fittings, anything like that. Look underneath the hood and check for contamination. Make sure it is kept clean and check for debris in your radiator, no dirty screens.
Check your D seals make sure they are still in good shape. Check the several grease fittings. One on your deck adjustment keep greased up and keep lubed. Check your coolant level. Check your oil. All the normal things you would do to operate your car, air filter, oil, oil filter. The hydraulic filter is on the opposite side of the height of the hydraulic tank.
One thing we are going to discuss is your fuses in your relays. If you go online, you can zoom up on the wiring diagram and follow the wires. It also tells you what each relays doing on the wiring diagram for this machine. There are four fuses. Number one is power to your relays. Number two is your neutral, your engine temp, your hydraulic oil level, your manual level switch. The third one is your fuel pump, your alternator, and your fuel shutoff. The fourth is your ignition switch, which is your main power giving power to your switches. Usually, when I am checking a fuse out, I will use a test light versus just looking at it by eyeball because sometimes your eyes will fool you if it didn’t blow really good. I test light check each side of the fuse to know if there is power going through each one. We have two time delays, one is for the heating up prior to the start, basically your glow plugs. The other is a time delay for your safety circuits. It allows you to bounce in the seat for about three seconds and then it is going to stop the blades and stop the machine from moving. Have a set of five relays here, your flasher for the hazard lights, your four fuses are all located right here underneath the cowling. The relays are well identified in the wiring diagram. Thank you for your time, and have a great day.