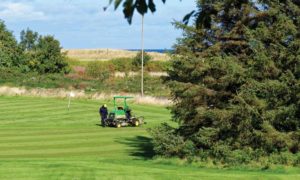
The fall season of greens aerification and topdressing has been completed. Now the battle begins to keep the reel mowers sharp while cutting through the sandy remains of topdressing. Oh, the horrendous noises coming from the mower as it makes each pass across the green. I cringe at the sound like that of fingernails on a chalkboard. Feeling like a prizefighter punching my way through each round of mowing in a gallant effort to keep the mowers sharp. All I can do is give it all I’ve got, from hand filing the front faces of the badly worn bed knives or replacing them with new ones. The 80 grit lapping compound is kept on hand in the first attempt of getting the mowers back to a point they would cut. The routine is to do whatever it takes to have the mowers ready for the next morning mowing.
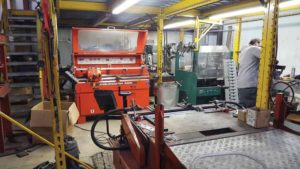
ANGLEMASTER 3000 Bernhard Pictures courtesy of Cutter Equipmemt Co.
Fast forward a few weeks and its mission accomplished. The season is over and now is the time for the put the mowers back into shape for next spring. There is more to it than just grinding the reel and setting the height of cut. So much of the end result is in the preparation and set up.
At this time I am not going to get into the pros and cons of the different reel grinders and the ways to grind reels. They range from the old school manual grinders to state of the art cabinet grinders. Plus a multitude of ways to grind reels, from manual relief grind, manual flat grind, semi and automatic spin grind, spin and relief grinding. This can be mind-boggling. When you gather together a group of Turf Equipment Technicians they will all have their own technique of reel grinding.
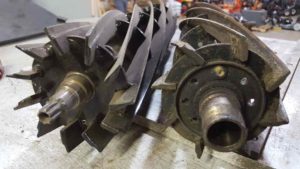
In general, this is what I do when preparing and setting up a cutting unit. Begin with thorough cleaning and removal all the remains of grass and build up debris. Look at the reel shaft where it enters the bearing seals. This is the point where debris wraps itself around the reel shaft and can damage the grease seal and allow water contaminants into the reel bearings. Inspect the overall condition of the complete cutting unit. Look for loose, broken or missing sheet metal. Inspect frame welds for cracks. Are there any broken welds where the reel stock is attached to spiders? Look for any broken or bent blades.
Pictures courtesy of Cutter Equipmemt Co.
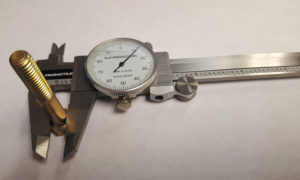
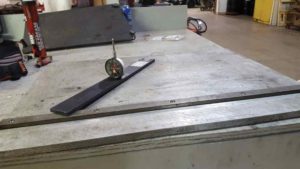
Use a reel tape measure or reel caliper to determine if the reel is below minimum diameter or has excessive taper from one end to the other. When the diameter becomes too small it can be difficult to set and maintain a low height of cut, as the heel of the bed knife may drag the turf causing a poor quality of cut. Now is the time to replace a reel that is below the minimum OEM diameter. Excessive taper in a reel will make it difficult to achieve a proper reel to bed knife contact across the length of the bed knife cutting edge. Taper will be corrected with proper grinder set up.
Pictures courtesy of Cutter Equipmemt Co.
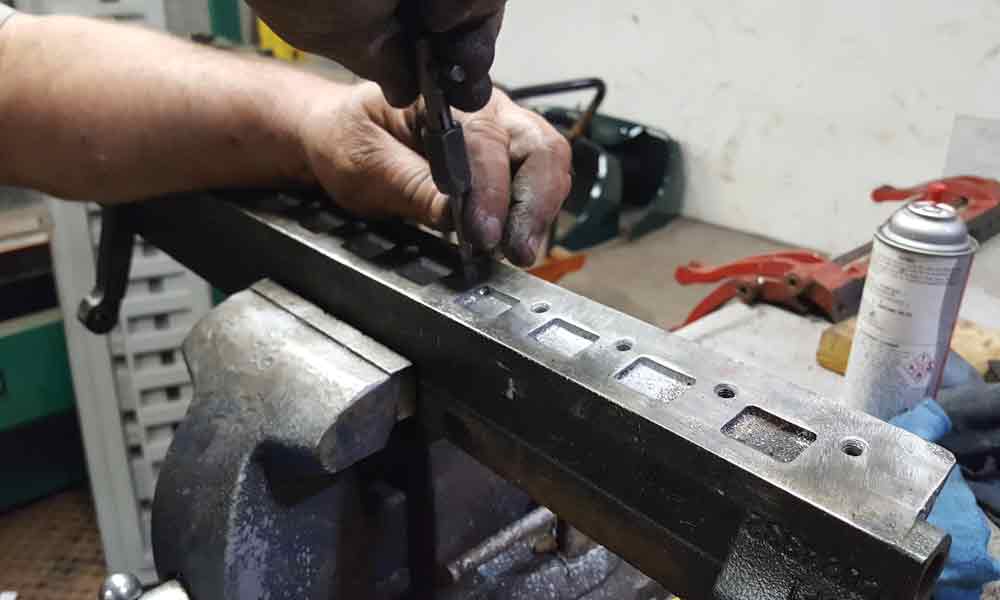
Check the condition of the reel bearings. Does the reel turn without binding, is there excessive end play or lateral movement? Replace any bearings that are not up to par. Grease the bearings and remove as much old grease as possible. My preference is to use a synthetic grease as it will definitely extend the life of any bearing. The same applies front and rear rollers. Are the rollers themselves damaged? Replace any loose or failed bearing assemblies. Disassemble, clean and lubricate all the height of cut and reel to bed knife adjusters. Apply a small amount of anti-seize on the parts to keep them from freezing up and preventing proper adjustment during the season. Remove the old bed knife and clean the bottom of the bed bar with a wire wheel while wearing proper eye protection. A tip in removing frozen bed knife screws is heat the head of the screw red hot with an oxygen-acetylene torch. Allow them to cool and they will come out with ease. Clean out the bed knife mounting screw threads with the correct thread tap. Install a new bed knife, using new screws and dab of anti-seize on the threads. Follow the proper tightening sequence of the screws from the center out, at the correct torque. When a new bed knife is installed it will have some wave or distortion in the machined surfaces. With a black permanent marker, mark the front and top face of the bed knife. This will help aid you in getting set up in the bed knife grinder to true up the correct OEM recommended angles.
Next step is to grind the reel to remove any taper and create a sharpened leading edge. During the mowing season the reel begins to taper starting at the leading edge. After grinding reassemble the reel and bed knife and adjust the reel for proper contact to insure a good clean crisp cut. When a reel and bed knife are ground correctly no back lapping is required.
Pictures courtesy of Cutter Equipmemt Co.
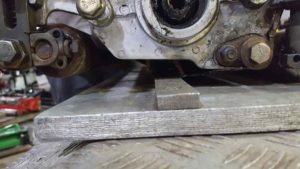
Next is a very important step in the setup, setting the reel to roller parallelism. Reel to roller parallelism adjustments are made on a leveling plate. This procedure eliminates having a rocking affect diagonally from one roller end to opposing roller end. This is similar to having a short chair leg and has a big impact on the appearance of the cut and the appearance of the cut from one cutting unit to another.
At last set the desired height of cut and verify the bed knife attitude. On some cutting units the bed knife attitude is adjustable according to the desired height of cut. Check with your owner’s manual to determine if the bed knife attitude is adjustable or fixed.
There is nothing like the beauty of a fresh cut green with properly sharpened and set up mower.
Contact me with questions or comments at mxk92@yahoo.com.

